
Vegetables
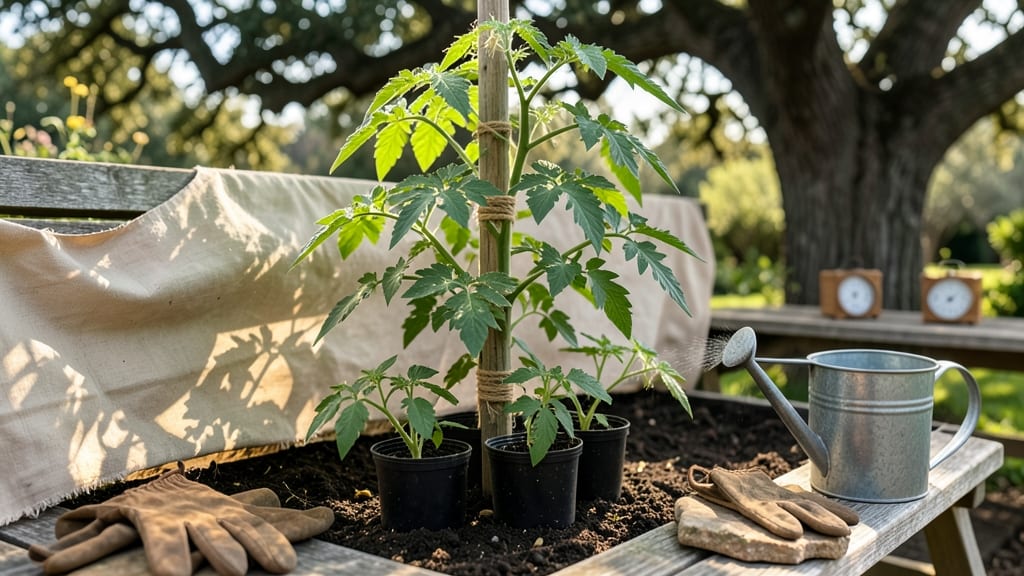
Harden off tomato plants before transplanting to avoid shock and set them up for a stronger, more productive season. 🌱 I learned the hard way that skipping this step leads to wilting, stunted growth, or even plant death—even with the most tender care afterward.
The key is gradual exposure to outdoor conditions over 7-10 days, mimicking what the plants will face in the garden.
You’ll need your seedlings, a sheltered outdoor spot (like a porch or balcony), and a way to gradually increase their sun exposure. Start with 3-4 hours of morning sun on day one, then add an hour each day while protecting them from harsh afternoon rays.
Watch for signs of stress—yellowing leaves or wilting means you’re moving too fast.
By the end, your tomatoes will be tougher, better adapted to wind, sun, and temperature swings. They’ll transplant with confidence, establish roots faster, and start producing fruit weeks ahead of plants that went straight from indoors to the garden.
The payoff? A bountiful harvest that starts earlier and lasts longer.
Works for backyard gardens, containers, or raised beds—just adjust timing based on your last frost date. Now, let’s get those seedlings ready for their big move!
📚 In This Guide
- What you need
- Instructions
- Tips and common mistakes
- Wrapping up and next steps
What you need
- ● Tomato seedlings: Healthy, 4–6 week-old plants (ready for transplanting).
- ● Garden space or containers: Raised beds, pots, or garden plots with well-draining soil (at least 12–18 inches deep).
- ● Hardening-off location: A sheltered spot (e.g., porch, patio, or greenhouse) with partial shade during the first 3–5 days.
- ● Gradually move to full sun (6+ hours/day) over 7–14 days.
- ● Watering can or hose: With a gentle spray nozzle for even moisture.
- ○ Mulch (optional but recommended): Straw, shredded leaves, or organic mulch to retain soil moisture.
- ○ Plant supports (optional): Cages, stakes, or trellises (for indeterminate varieties).
- ● Tie plants loosely with soft twine or plant clips.
- ● Shade cloth: 30–50% coverage for gradual sun exposure.
- ● Thermometer: To monitor daytime/nighttime temps (ideal: 50–85°F).
- ● Fertilizer: Balanced, low-nitrogen formula (e.g., 5-10-10) for post-transplant growth.
- ● Plant markers: To label varieties and track progress.
- ● Pruning shears: For trimming leggy stems or lower leaves if needed.
Step-by-step instructions for hardening off tomato plants
Here's my foolproof method for preparing tomato seedlings to thrive outdoors.
🌱 Step 1: Start Indoors with Proper Light and Temperature
Your tomato seedlings should already be growing strong indoors under 14-16 hours of light daily. I always use a grow light positioned 2-4 inches above the plants to prevent leggy growth. Keep indoor temperatures between 65-75°F during the day and 60-65°F at night—this mimics natural conditions and strengthens stems.
Check for first true leaves (the second set after the initial seed leaves) before starting hardening off. These leaves indicate the plant has enough energy reserves to handle outdoor stress. If your seedlings are pale or stretching toward the light, move the grow light closer immediately—this is your signal they're not ready for hardening off yet.
⏰ Step 2: Time Your Hardening Off Period
Begin hardening off 10-14 days before your last frost date. This gradual transition gives your plants time to adjust to wind, sun, and temperature fluctuations. I always check my local frost calendar and mark the date on my calendar—rushing this step leads to shocked plants that wilt or bolt prematurely.
Watch for new leaf growth during this period. Healthy seedlings will show dark green, sturdy leaves with minimal yellowing. If you notice leaves curling or wilting during the process, your plants are adjusting too quickly—slow down the exposure time by 1-2 hours the next day.
☀️ Step 3: Begin Outdoor Exposure Gradually
Start by placing seedlings outside in a sheltered, shaded spot for 1-2 hours on the first day. I use a spot under a patio cover or near the north side of my house where they get dappled sunlight. Avoid direct sun initially—it can cause leaf scorch and stress the plants too soon.
Increase exposure time by 1-2 hours daily, moving to slightly sunnier locations each time. By day 5, they should tolerate 4-6 hours of morning sun. You'll see the stems thicken and leaves darken as they toughen up. If a leaf yellows, don't panic—it's just adjusting, but remove any severely damaged leaves to prevent disease.
💧 Step 4: Introduce Wind and Full Sun
After 7-10 days of gradual exposure, your seedlings should handle full sun for 6-8 hours daily. I test this by moving them to their final garden spot during the mildest part of the day—early morning or late afternoon. Watch for translucent variegation on leaves, which indicates mild sun stress. This is normal and will disappear as they adjust.
Introduce wind gradually by placing them in increasingly exposed locations. A gentle breeze strengthens stems, but sudden strong winds can damage tender plants. If you notice leaves curling tightly or stems bending, they're not ready for full wind exposure—give them one more day of sheltered conditions.
🪴 Step 5: Finalize Transplant Preparation
By day 10-14, your seedlings should look nearly identical to mature plants in your garden—thick stems, dark green leaves, and no signs of stress. The final test is leaving them outside overnight before transplanting. If they survive a cool night without wilting, they're ready for the garden.
Transplant on an overcast day or late afternoon to reduce transplant shock. Water deeply at the base immediately after planting to help roots establish. Here's the thing—I always add a handful of compost to the planting hole to give them a nutrient boost during this critical transition period.
Tips & tricks for perfect tomato plant acclimation
Here's what I've learned from years of hardening off tomato seedlings—these tricks make all the difference between thriving plants and stressed survivors.
Lighting Strategy: If your seedlings are stretching toward the light (a sign they're leggy), move the grow light down to just 2 inches above the tallest plants. This forces them to grow stockier stems before hardening off. I've found that seedlings with stems thicker than a pencil handle outdoor stress far better than spindly ones.
Weather Watch: Pay attention to your local 5-day forecast during hardening off. If a cold snap is predicted during your 10-14 day period, slow down the exposure process or even pause for a day. Cold stress is harder on plants than sun—better to err on the side of caution with temperature fluctuations than rush the process.
Visual Cues: The translucent variegation on leaves you'll see in Step 4 is actually a good sign! This temporary mottling indicates mild sun stress, which toughens the plants. What you want to avoid is crispy or brown edges—this means they're getting too much sun too soon. Think of it like a sunburn warning for your plants.
Transplant Timing: That overnight test in Step 5 is crucial—don't skip it! I've transplanted seedlings that "looked fine" during the day only to have them wilt overnight. If your plants survive that first cool night outside, they'll handle anything the garden throws at them. Pro tip: Use a small stake to mark where you tested them so you remember the perfect spot.
Pro Tips for Harden Off Tomato Plants
- Here's what I've learned from years of hardening off tomato seedlings—these tricks make all the difference between thriving plants and stressed survivors.
- Lighting Strategy: If your seedlings are stretching toward the light (a sign they're leggy), move the grow light down to just 2 inches above the tallest plants.
- Weather Watch: Pay attention to your local 5-day forecast during hardening off.
Frequently asked questions
Got questions about hardening off your tomato plants? You’re not alone! Here are the most common concerns—and straightforward answers—to help you stress less and grow stronger, sun-loving plants.
How long does it take to harden off tomato plants?
Most gardeners recommend a 7–14 day process, gradually increasing exposure. Start with 1–2 hours of sunlight per day and add 30–60 minutes daily. Watch your plants: if leaves yellow or wilt, slow down!
Can I harden off tomato plants in one day?
No—this is a gradual process!
Rushing can shock tender seedlings, causing stunted growth or even death. Think of it like a sunburn for plants: slow and steady wins the race. If you’re in a hurry, extend your hardening time by a few extra days instead.
What if it rains during hardening off?
Rain isn’t a dealbreaker! Just protect plants from heavy downpours (use a temporary shade cloth or move pots under cover). Wet leaves can develop fungal issues, so ensure good airflow. If rain is forecasted, harden off indoors (near a bright window) for a day or two.
Do I need to harden off tomato plants if I’m growing them in containers?
Yes! Container-grown tomatoes still need acclimation—they’re just as sensitive to sudden temperature/sun changes. The key difference? Move pots indoors at night if temps dip below 50°F (10°C) to protect roots. Containers also dry out faster, so water before hardening off begins.
What do I do if my tomato plants look stressed after hardening off?
Stressed plants might show yellow leaves, wilting, or slow growth. Act fast:
- Shade them for a day or two (use a light cloth or move to partial shade).
- Water deeply but avoid soggy soil.
- Hold off on transplanting until they perk up (usually 2–3 days).
Wrapping up and next steps
Harden off your tomato plants with confidence—you’re giving them the best possible start for a thriving, productive season! 🌱 By gradually exposing them to outdoor conditions, you’ll build resilience against wind, sun, and temperature shifts.
Remember, patience is key; a few weeks of careful prep can mean the difference between wilting seedlings and bountiful harvests.
Now that you’re ready to transplant, watch your garden bloom! Next up? Learn how to plant tomatoes for maximum growth—or dive into tips for keeping pests at bay. Happy gardening! 🌿