
Vegetables
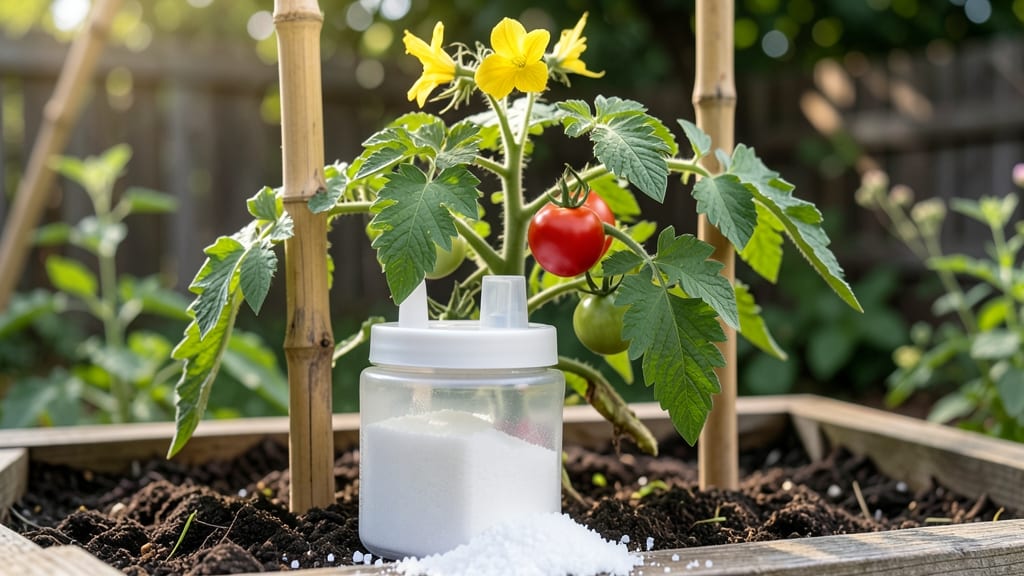
Adding gypsum for tomatoes transforms your soil from compacted clay to a loose, root-friendly foundation—exactly what heavy-feeding tomato plants crave. 🌱 Last summer, my cherry tomatoes struggled with poor drainage until I worked in gypsum, and within weeks, the plants sent out stronger roots and produced fruit with crispier texture and fewer cracks.
The key lies in gypsum's dual action: it breaks up dense soil while supplying calcium, the mineral that prevents blossom-end rot. Unlike lime—which raises soil pH—gypsum targets soil structure first, making it ideal for sandy or clay-heavy beds.
A 2-3 pound application per 100 square feet works for most gardens, but test your soil first to avoid overdoing it. You'll notice roots spreading deeper and plants standing taller within 2-3 weeks of application.
The real magic happens at harvest: tomatoes stay firmer longer, and the flavor intensifies because the plants aren't struggling to access nutrients. For best results, apply gypsum 4-6 weeks before planting or early in the season when soil is workable.
This method works alongside compost and organic matter, not instead of it. Think of gypsum as the foundation layer—what lets everything else perform better. Now let's get your soil ready for a stronger tomato season.
📚 In This Guide
- What you need
- Instructions
- Tips and common mistakes
- Wrapping up and next steps
What you need
- ● Gypsum (Calcium Sulfate): 1–2 pounds per 100 square feet of garden bed (or 1–2 tablespoons per plant for container gardening).
- ● Specification: Pure agricultural gypsum (avoid plaster or wallboard gypsum, which may contain additives).
- ● Tomato Plants: Healthy seedlings or transplants (1 plant per 18–24 inches of space for vining varieties).
- ○ Optional: Start with seedlings or purchase young plants from a nursery.
- ● Well-Draining Soil: Loamy soil with a pH of 6.0–6.8 (test your soil if unsure).
- ● Amendment: Mix in compost (2–3 inches) before planting for extra nutrients.
- ● Watering Can or Hose: For even watering (avoid overhead sprinklers to prevent disease).
- ● Garden Gloves (to protect your hands from soil and gypsum dust).
- ● Trowel or Hand Fork (for mixing gypsum into soil or planting).
- ○ pH Test Kit (optional but helpful for monitoring soil health).
- ● Mulch (Straw or Wood Chips) (to retain moisture and regulate soil temperature).
- ○ Epsom Salt (Magnesium Sulfate) (optional, 1 tablespoon per plant monthly for extra magnesium).
How to amend tomato soil with gypsum for better fruit quality
This simple soil treatment transforms your tomato plants—crispier fruit and stronger roots start here.
🌱 Step 1: Test Your Soil First
Before adding gypsum, check your soil’s calcium and magnesium levels using a home test kit or send a sample to your local extension office. Gypsum (calcium sulfate) won’t correct pH imbalances or nutrient deficiencies—it specifically targets calcium availability and improves soil structure. If your soil already has high calcium, skip this step entirely to avoid over-supplementing.
I like to test in early spring, right after the last frost but before planting. The results tell me whether my soil needs the extra calcium boost or if I should focus on other amendments like compost or lime. For tomatoes, aim for a soil test showing 40-60 ppm calcium—gypsum helps maintain that range without raising pH.
💧 Step 2: Apply Gypsum at the Right Rate
For garden beds, spread 1-2 pounds of gypsum per 100 square feet evenly over the soil surface. Use a broadcast spreader for uniform coverage—gypsum dissolves slowly, so even distribution ensures roots access calcium throughout the growing season. For container-grown tomatoes, mix 1 tablespoon of gypsum per 5-gallon pot into the top 6 inches of soil.
Work the gypsum into the top 4-6 inches of soil using a garden fork or tiller. This incorporates it into the root zone where tomatoes need it most. Water the area thoroughly after mixing—this activates the calcium sulfate, allowing it to dissolve and become available to plant roots within 24-48 hours. Avoid applying gypsum during heavy rain; you’ll just wash it away before roots can use it.
☀️ Step 3: Plant Tomatoes in Amended Soil
After amending, wait 7-10 days before planting tomatoes. This gives the gypsum time to dissolve and integrate into the soil structure. Plant seeds or transplants at the same depth they were growing before—1/8 inch deeper than the original soil line for transplants. For seeds, place them 1/4 inch deep in the amended soil.
Tomatoes thrive in well-draining soil with good structure, and gypsum helps loosen compacted clay soils while adding calcium. You’ll notice stronger stems and fewer blossom-end rot issues (that unsightly calcium deficiency on fruit). Mulch with 2-3 inches of organic mulch after planting to retain moisture and prevent gypsum from washing away during watering.
🌿 Step 4: Monitor and Maintain Calcium Levels
Throughout the growing season, watch for signs of calcium deficiency like blossom-end rot (dark, sunken spots on fruit) or weak, brittle stems. If these appear, apply a light top-dressing of gypsum (about 1/2 pound per 100 square feet) and water it in. Gypsum works best when applied 3-4 weeks before fruiting begins, so plan ahead for mid-season applications if needed.
Don’t overdo it—too much calcium can lock out other nutrients like magnesium. If leaves start yellowing between veins (a classic magnesium deficiency), switch to a balanced fertilizer or Epsom salt instead. Gypsum’s real magic is in preventing problems, not curing them after they start. Healthy soil structure from gypsum also means better water retention and root development, so your tomatoes will handle drought stress far better.
Tips & tricks for perfect gypsum soil amendments
Here's what nobody tells you about getting the most out of your gypsum treatment—these tricks make all the difference for your tomato plants.
Soil Testing Timing: Test your soil in early spring, right after the last frost but before planting. This timing ensures you have results when you need them most—gypsum won't help if your soil already has sufficient calcium (40-60 ppm range). I've learned the hard way that waiting until planting time means missing the window to amend properly before roots establish.
Application Technique: When applying the 1-2 pounds of gypsum per 100 square feet, use a broadcast spreader for even coverage. The key is getting it into the top 4-6 inches where tomato roots thrive. I like to make two passes—first diagonally, then perpendicular—to ensure no spots get missed. For containers, mix the 1 tablespoon per 5-gallon pot directly into the top 6 inches of soil before planting.
Activation Secret: The 24-48 hour activation period after watering is critical. Think of it like prepping your soil for a big party—gypsum needs time to dissolve and become plant-available. Water thoroughly right after mixing, then let nature do its work. Avoid watering heavily during this period, as you'll just wash away the calcium before roots can access it.
Mid-Season Maintenance: That 3-4 week window before fruiting is your best chance for preventive care. If you notice early signs of blossom-end rot (those dark spots on fruit), it's already too late for gypsum to help—prevention is everything. I schedule my mid-season application right when flowers start appearing, giving the calcium time to reach developing fruit before it sets.
Pro Tips for Gypsum For Tomatoes
- Here's what nobody tells you about getting the most out of your gypsum treatment—these tricks make all the difference...
- Soil Testing Timing: Test your soil in early spring, right after the last frost but before planting. This timing ensu...
- Application Technique: When applying the 1-2 pounds of gypsum per 100 square feet, use a broadcast spreader for even ...
Frequently asked questions
Got questions about using gypsum for tomatoes? You’re not alone! Here are some of the most common concerns—and their straightforward answers—to help you grow healthier, juicier tomato plants with confidence.
When is the best time to add gypsum to tomato soil?
Add gypsum to your tomato soil 4-6 weeks before planting or when amending the bed in early spring. This gives it time to dissolve and improve soil structure without risking salt buildup near young roots. For established plants, work it into the soil during a light rain to help it integrate evenly.
How much gypsum should I use for tomatoes?
A general rule is 1-2 pounds of gypsum per 100 square feet of garden bed. For container-grown tomatoes, mix in 1-2 tablespoons per 5-gallon pot. Overapplying can disrupt soil chemistry, so start small and monitor plant health. Pro tip: Test your soil first—gypsum is most effective in sandy or clay-heavy soils.
Can I use gypsum instead of lime for tomatoes?
Yes, but with a key difference: gypsum doesn’t change soil pH—it only improves drainage and root structure. If your soil is too acidic (pH < 6.0), pair gypsum with pelletized lime to balance pH while boosting calcium. Always test your soil first to avoid guesswork!
Why are my tomato leaves turning yellow after adding gypsum?
Yellowing leaves (chlorosis) can signal too much gypsum or poor watering. Flush the soil with water to dilute excess salts, and ensure your plants get 1-2 inches of water weekly. If the issue persists, check for calcium deficiency (common in sandy soils) and supplement with crushed eggshells or calcium nitrate.
What’s a natural alternative to gypsum for tomato soil?
If gypsum isn’t available, try these organic soil amendments:
- Compost: Boosts structure and nutrients (aim for 2-3 inches mixed into the top 6 inches of soil).
- Sand or perlite: Improves drainage in clay soils (use 1 part sand to 3 parts soil).
- Coffee grounds: Adds calcium and improves microbial activity (work in 1 cup per plant annually).
- Worm castings: Enhances root health and aeration (sprinkle ½ cup per plant at planting).
For calcium specifically, crushed eggshells or wood ash (sparingly) can help.
Wrapping up and next steps
Using gypsum for tomatoes is a game-changer for gardeners aiming for juicier, sweeter fruit and healthier roots. This simple yet powerful amendment improves soil structure, balances calcium, and prevents blossom-end rot—making it a must-try for any tomato lover! 🌱✨
Ready to elevate your harvest? Start by testing your soil, then apply gypsum as directed and monitor your plants’ progress. Your next step: grab that bag of gypsum and give your tomatoes the boost they deserve—your future salads will thank you!