
Vegetables
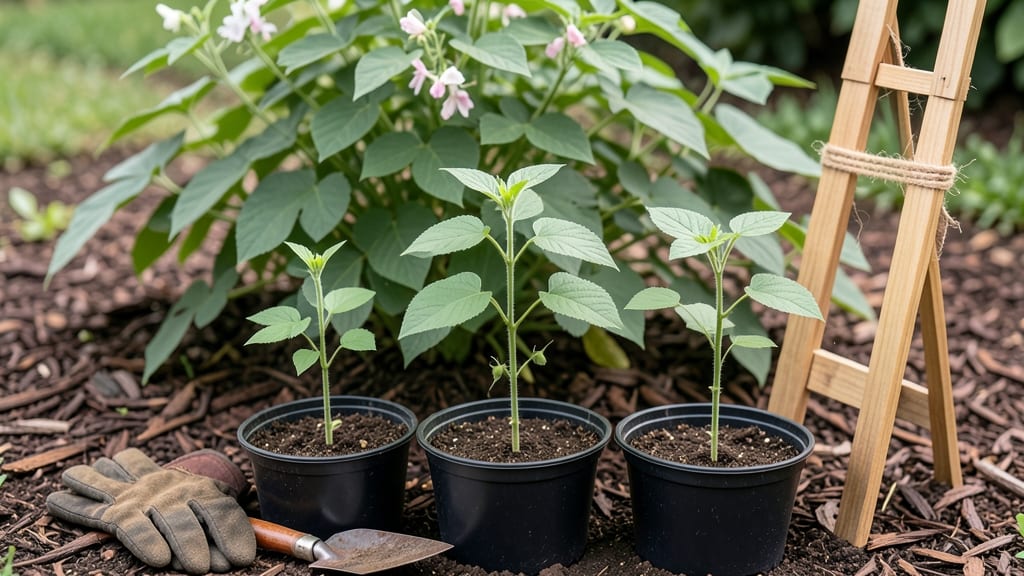
Green bean planting tips mean the difference between a bountiful harvest and a sad handful of beans. 🌱 The secret isn’t just soil or seeds—it’s knowing when to put them in the ground for your specific zone, so they thrive from seed to pod without bolting too early or struggling in heat. I’ve learned the hard way that planting too soon in cool zones (like mine in Zone 5) leads to stunted plants, while waiting too long in warmer zones (like Zone 8) means beans flower but never set pods. The key is timing: aim for after the last frost when soil reaches 60°F, and you’ll see those first tendrils break through the soil in 7–10 days. Once planted, green beans are low-maintenance—just keep the soil moist (not soggy) and watch for pests like Mexican bean beetles. A 3-inch-tall trellis or sturdy stakes can double your yield by keeping plants upright and pods off the ground. Whether you’re growing in rows, containers, or vertical setups, the same rules apply. Let’s get those beans in the ground the right way!
📚 In This Guide
- What you need
- Instructions
- Tips and common mistakes
- Wrapping up and next steps
What you need
- ● Green bean seeds: Choose bush beans (compact) or pole beans (vining). Aim for 1–2 lbs of seeds (about 100–200 seeds) per 100 sq ft.
- ● Soil: Well-draining, loamy soil with a pH of 6.0–7.0. Mix in 2–3 inches of compost or aged manure before planting.
- ● Fertilizer: Balanced 10-10-10 or organic options like fish emulsion (follow package rates). Avoid high-nitrogen fertilizers.
- ● Water: Access to a hose or watering can (beans need 1–1.5 inches of water per week).
- ● Garden trowel or transplanter (for digging holes).
- ● Rake (to loosen soil).
- ● Measuring tape or ruler (for spacing seeds 2–4 inches apart, rows 18–24 inches apart).
- ○ Pole supports (optional but handy!): For pole beans: 5–6 ft tall trellises, stakes, or netting (install before planting).
- ● For bush beans: Straw mulch (to retain moisture).
- ● Garden twine or clips (to secure vining beans to supports).
- ● Row covers or frost cloth (if planting early in zones 3–5 to protect from frost).
- ● Sunlight: Full sun (6–8 hours daily)—no skimp here!
- ● Last frost date: Wait until after the last frost in your zone (use a frost calculator if unsure).
- ● Soil temperature: Ideal for planting is 60–70°F (use a soil thermometer to check).
- ● Succession planting: For continuous harvests, sow seeds every 2–3 weeks (until 6–8 weeks before first frost).
- ○ Pest control (optional): Diatomaceous earth (for slugs/snails).
- ● Neem oil (for aphids/bean beetles).
Step-by-Step green bean planting for your climate zone
Here's how I time green bean planting to match your growing zone and avoid common mistakes.
🌱 Step 1: Determine Your Planting Window by Zone
Green beans thrive in soil temperatures between 60-85°F, so timing depends on your USDA zone. In zones 3-5, wait until 2 weeks after your last frost date when soil warms to at least 60°F. I test this by pressing my hand into the soil—if it feels warm enough to hold for 5 seconds without discomfort, it's ready.
For zones 6-8, you can plant as early as 2 weeks before last frost if you use row covers to protect tender seedlings. In zones 9-11, plant in fall for winter harvests when daytime temps drop below 90°F—heat stress causes beans to stop producing. Mark your calendar 4-6 weeks before your ideal planting date to prepare soil.
🪴 Step 2: Prepare the Planting Site
Green beans need well-draining soil with pH 6.0-7.0—test your soil first with a kit. If needed, mix in 2 inches of compost (from your 4 servings' worth of organic matter) into the top 6 inches of soil. I like to work in a 5-10-10 fertilizer at planting time for a nutrient boost, following package rates.
Choose a spot with full sun (6+ hours daily)—partial shade reduces yields. If your soil is heavy clay, create raised beds or mounds to improve drainage. Avoid planting where beans or other legumes grew last year to prevent soil-borne diseases. Space rows 18-24 inches apart to allow airflow and easy harvesting.
☀️ Step 3: Plant Seeds at the Right Depth and Spacing
Sow seeds 1 inch deep, about 2-3 inches apart in rows. For bush beans, space rows 18 inches apart; for pole beans, use 4-6 inch stakes and plant seeds 4-6 inches apart along the row. I plant seeds in short rows (3-4 feet long) to make thinning easier—long rows get crowded and hard to manage.
Thin seedlings to 4-6 inches apart when they reach 2 inches tall, using scissors to cut rather than pull to avoid disturbing roots. Water gently after planting, keeping soil evenly moist but not soggy—beans hate wet feet. Mulch with straw or grass clippings (using your 4 servings' worth) to retain moisture and suppress weeds.
💧 Step 4: Maintain Consistent Moisture and Support
Green beans need 1-1.5 inches of water weekly, delivered at the soil level to avoid wetting leaves (which spreads disease). I water in the early morning so foliage dries quickly. For pole beans, install trellises or stakes as soon as plants reach 6 inches tall—support prevents breakage and improves air circulation.
Watch for yellowing leaves, which signal overwatering or nutrient deficiency. If leaves curl, it's often heat stress—provide afternoon shade with row covers during heatwaves. Side-dress with compost tea or balanced fertilizer when plants flower to boost pod production. Harvest begins 50-60 days after planting, picking every 2-3 days to encourage continuous production.
✂️ Step 5: Extend the Season with Succession Planting
For continuous harvests, plant succession crops every 2 weeks until 6 weeks before your first frost. In cooler zones, plant fall crops in late summer for harvests before winter. I always save seeds from my best-performing plants—let a few pods mature fully on the vine, dry them, and store in a cool, dark place for next year.
At season's end, remove plants and compost them (unless diseased). Rotate planting locations next year to prevent soil depletion. With this timing, you'll enjoy harvests for 6-8 weeks per planting, and succession plantings can stretch that to 10+ weeks in favorable climates.
Tips & tricks for perfect green bean planting
After planting green beans in every zone for years, here are the secrets that help me avoid common mistakes and maximize yields.
Soil Temperature Test: The 60-85°F soil temperature range is critical for germination. Instead of guessing, I use the "hand test" from Step 1—press your hand into the soil for 5 seconds. If it feels warm but not hot, it's ready. In cooler zones, I've found that waiting for that 60°F threshold prevents seed rot, even if it means delaying planting by a few days. For zones 9-11, I monitor daytime highs—once they consistently stay below 90°F, I know it's safe to plant for fall harvests.
Row Cover Strategy: For zones 6-8 where you can plant 2 weeks before last frost, I use lightweight row covers to protect seedlings. The trick is to remove them during the day when temperatures rise above 70°F to prevent overheating. I've seen seedlings grow twice as fast when they get that midday sunlight boost, but still stay protected from late frosts. Remove them completely once plants reach 6 inches tall to encourage sturdy growth.
Thinning Technique: When thinning seedlings to 4-6 inches apart in Step 3, I use clean scissors instead of pulling by hand. This prevents disturbing the roots of nearby plants and gives you a cleaner harvest area. I also thin in stages—first when seedlings reach 2 inches tall, then again at 4 inches if needed. This gradual approach reduces transplant shock and gives you more control over final spacing. The extra effort pays off with fewer gaps and more uniform plants.
Watering Hack: To deliver that 1-1.5 inches of water weekly without overwatering, I use a rain gauge placed near my planting area. I've learned that morning watering is key—beans need time to dry out during the day to prevent fungal diseases. For container growing, I water until it runs out the drainage holes, then wait until the top inch feels dry before watering again. This method keeps roots consistently moist without waterlogging.
Pro Tips for Green Bean Planting Tips
- After planting green beans in every zone for years, here are the secrets that help me avoid common mistakes and maxim...
- Soil Temperature Test: The 60-85°F soil temperature range is critical for germination. Instead of guessing, I use the...
- Row Cover Strategy: For zones 6-8 where you can plant 2 weeks before last frost, I use lightweight row covers to prot...
Frequently asked questions
Got questions about growing your own green beans? You’re not alone—this versatile veggie can be tricky for beginners! Below, we’ve rounded up the most common queries to help you plant with confidence and avoid pitfalls.
When is the best time to plant green beans in my hardiness zone?
Green beans thrive in warm soil (at least 60°F) and prefer cool to moderate summer temperatures. In Zones 3–5, plant after the last frost (late spring) or try an early fall crop. In Zones 6–10, plant in early spring or late summer for a second harvest. Bush beans tolerate cooler temps better than pole beans.
Can I plant green beans in containers, or do they need a garden bed?
Green beans adapt well to containers if given enough space. Use a 5-gallon pot or deeper for bush beans (1 plant per 4" of diameter) or a tall, narrow container (like a fabric grow bag) for pole beans. Ensure pots have drainage holes and place them in full sun (6+ hours daily). Pro tip: Add compost to the soil mix for nutrient-rich growth!
Why are my green bean plants wilting or turning yellow?
Wilted or yellowing leaves often signal underwatering, overwatering, or nutrient deficiencies. Check soil moisture—beans need 1–1.5 inches of water weekly but hate soggy roots. Yellowing lower leaves may indicate nitrogen deficiency (add compost or a balanced fertilizer). Pests like aphids can also stress plants—spray with soapy water if you spot sticky residue.
Do green beans need trellises, or can they grow on their own?
It depends on the variety! Bush beans grow low to the ground (1–3 feet tall) and don’t need support. Pole beans, however, climb 6–10 feet and thrive with trellises, stakes, or cages. Trellising saves space, improves air circulation (reducing disease), and often yields straighter, sweeter pods. Use 3–4 foot tall supports for pole beans and train vines gently with twine.
How long does it take for green beans to grow after planting?
Green beans are fast growers! From seed to harvest, expect 50–60 days for bush beans and 55–70 days for pole beans. Factors like soil warmth, sunlight, and variety affect timing. For continuous harvests, plant seeds every 2–3 weeks (in warm zones) or succession-sow in cool climates. Fun fact: Pick pods when they’re 4–6 inches long for peak tenderness!
Still stumped? Drop your question in the comments—we’re happy to help you grow a bumper crop!
Wrapping up and next steps
Growing your own green beans is a rewarding journey that starts with the right timing, soil, and care! By following zone-specific planting tips and these expert strategies, you’ll soon be harvesting fresh, crisp beans straight from your garden. 🌱
Ready to take the next step? Start by marking your calendar for your local planting window, prep your soil, and get those seeds in the ground.
With patience and a little green thumb love, you’ll be enjoying homegrown beans in no time—bonus points if you share the harvest with neighbors!