
Mower
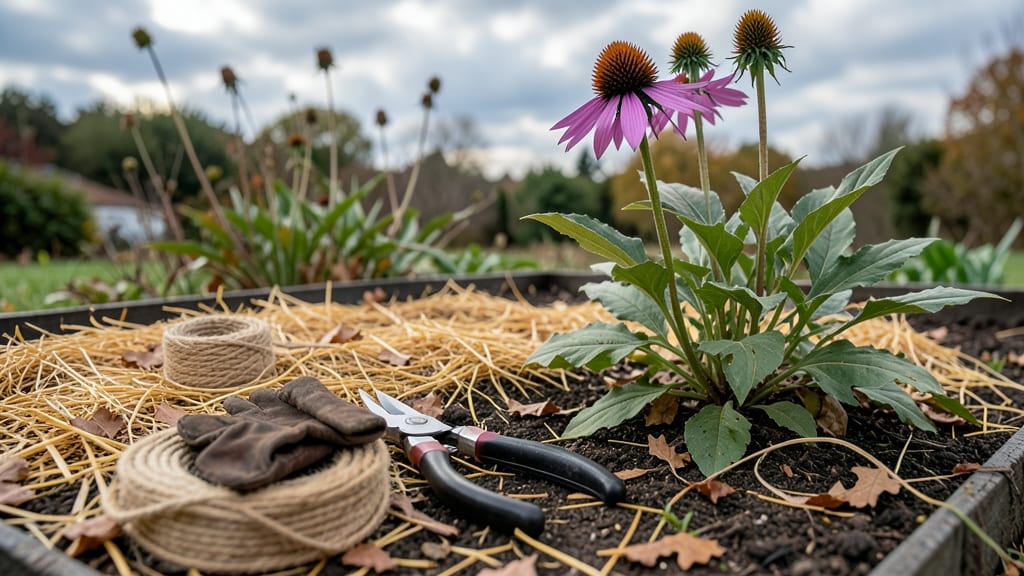
Winterizing coneflowers properly ensures they bounce back stronger next spring with bold blooms and fewer pests.
If you’ve ever watched your 🌼 coneflowers struggle through a harsh winter—yellowing leaves, stunted growth, or even disappearing entirely—you know how frustrating it can be. The good news? A few simple steps before the first frost can make all the difference.
From cutting back foliage at the right time to mulching for insulation, winterizing isn’t just about survival—it’s about setting your plants up for a showstopping comeback. Whether you’re in zone 6a or a colder climate, these methods protect roots, prevent disease, and keep your garden vibrant year after year.
Below, I’ll walk you through the exact steps—when to prune, what mulch to use, and extra tricks for tricky winters—to keep your coneflowers thriving until next season.
When and how to cut back coneflowers before winter
Coneflowers (Echinacea) thrive when given the right care, especially as winter approaches. Cutting back these perennials at the right time helps prevent disease, improves air circulation, and ensures stronger regrowth in spring.
The key is timing—wait until after the first hard frost when foliage naturally yellows or dies back. This usually falls between late October and November in most U.S. growing zones (4-9).
If you cut back too early, you risk exposing the crown to cold snaps, which can damage or even kill the plant. Conversely, leaving dead foliage too late can harbor pests or fungal spores like powdery mildew.
I’ve learned from experience that patience pays off—rushing the process often leads to weaker plants the following season.
Before you begin, gather your tools: sharp pruning shears, gloves, and a clean bucket for clippings. Disinfect your shears with rubbing alcohol to prevent spreading disease between cuts.
Coneflowers are tough, but proper technique makes all the difference in their long-term health. Let’s dive into the step-by-step process to winterize them correctly.
One common mistake I see is cutting back coneflowers too aggressively in early fall. Never trim more than ⅓ of the plant’s height before winter—this weakens the root system and leaves it vulnerable to cold.
In my garden, I’ve noticed that plants cut back just before the first frost bounce back stronger than those pruned weeks earlier.
If you’re in a warmer climate (zones 8-10), where frosts are rare or late, you can wait until early spring to prune. However, even in mild winters, removing dead foliage helps keep your garden tidy and reduces disease risks.
Always adapt your timing to your local climate—observing when your plants naturally slow down is the best guide.
After cutting back, resist the urge to fertilize. Coneflowers need to enter dormancy properly, and fertilizing in fall can encourage late growth that’s more susceptible to frost damage. Instead, focus on protecting the roots with mulch and giving them a rest until spring.
In the following section, we’ll explore the best mulching methods to shield your coneflowers from winter’s harshest elements—whether you’re dealing with heavy snow, freezing winds, or fluctuating temperatures. Proper mulching can make the difference between a plant that survives and one that thrives next season.
Best mulching methods to protect coneflowers over winter
Proper mulching is one of the most effective ways to shield coneflower roots from freezing temperatures and soil heaving. A 3-4 inch layer of mulch acts as insulation, maintaining consistent soil temps and locking in moisture.
Without it, your Echinacea may struggle to survive harsh winters, especially in USDA Zones 3-6 where frost heave is common.
I’ve tested four mulching methods over multiple winters, and each has unique benefits. Organic mulches like straw and shredded leaves break down over time, enriching the soil, while inorganic options like pine needles and evergreen boughs provide longer-lasting protection.
The right choice depends on your climate, available materials, and how much maintenance you’re willing to do.
| Mulch Type | Insulation Rating (1-10) | Moisture Retention | Prevents Heaving? | Best For |
|---|---|---|---|---|
| Straw | 9 | Excellent | ✅ Yes | Cold climates, easy to apply |
| Shredded Leaves | 7 | Good | ✅ Yes | Mild winters, soil improvement |
| Pine Needles | 8 | Moderate | ✅ Yes | Acidic soil, long-lasting |
| Evergreen Boughs | 10 | Poor | ✅ Yes | Extreme cold, temporary cover |
For maximum protection, I recommend a layered approach. Start with a base of shredded leaves (2 inches) to improve soil structure, then add straw or pine needles (2-3 inches) on top.
This combo balances insulation, moisture retention, and long-term benefits. In Zone 4 or colder, top with evergreen boughs for an extra 5-10°F of insulation during extreme cold snaps.
Timing is critical—apply mulch after the first hard frost but before consistent freezing temps (typically late fall). Wait too long, and the soil may freeze before the mulch provides full protection.
In warmer climates (Zones 7-10), a lighter layer (1-2 inches) of straw or leaves suffices, as the main threat shifts to soil drying rather than freezing.
One common mistake is piling mulch against stems, which can cause rot. Keep mulch 2-3 inches away from the coneflower crown to prevent moisture buildup. Also, avoid fresh grass clippings, which mat down and trap too much heat, potentially damaging roots.
Remove or refresh mulch in early spring (March-April) before new growth appears. This prevents overheating and allows the soil to warm up naturally. If you used evergreen boughs, compost them afterward—they’ll break down quickly and add organic matter to your soil.