
Vegetables
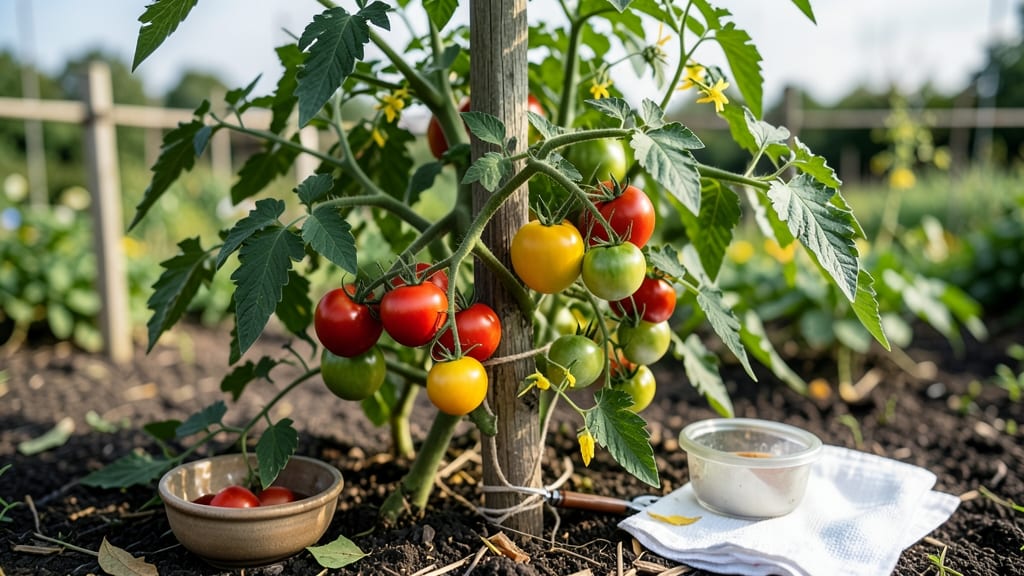
Freezing whole tomatoes locks in summer flavor for winter cooking—no canning skills required. 🍅 I learned the hard way that store-bought tomatoes can't compare to homegrown, so I perfected this method after three failed batches (the first two turned mushy).
The secret lies in proper prep: blanching, drying, and freezing at peak ripeness ensures your tomatoes stay firm and taste like they were just picked.
You'll need ripe but firm tomatoes (not overripe), a sharp knife, a blanching pot, a drying rack, and freezer bags or containers. The process takes about 1 hour of active time, but the payoff is worth it—you'll have perfect tomatoes for sauces, soups, or stews all winter long.
No more buying bland store tomatoes when you can use your own harvest!
After blanching and drying, your tomatoes will stay fresh-tasting for up to 12 months in the freezer. They'll still be usable in recipes even if they soften slightly, though they won't be perfect for slicing.
The texture changes slightly, but the flavor remains rich and vibrant, making them ideal for cooking.
This method works for any tomato variety—roma, beefsteak, or cherry—so you can preserve your favorite garden picks. The key is consistency in prep, and once you master it, you'll never waste another homegrown tomato again. Ready to preserve your harvest?
📚 In This Guide
- What you need
- Instructions
- Tips and common mistakes
- Wrapping up and next steps
What you need
- ● Ripe, firm tomatoes – Choose unblemished varieties like Roma, beefsteak, or cherry tomatoes (avoid overripe or soft ones). Quantity: Adjust based on your needs (e.g., 1 lb for small batches, 5–10 lbs for bulk freezing).
- ● Blanch water – A large pot (big enough to hold tomatoes in a single layer) filled with 2–3 inches of water (enough to cover tomatoes halfway).
- ● Ice water bath – A second large bowl or tub filled with cold water + ice (for shocking post-blanching).
- ● Plastic freezer bags – Heavy-duty, zip-top bags (1–2 gallons per batch). Pro tip: Use vacuum-sealed bags for longer shelf life!
- ● Paper towels or clean kitchen towels – For drying tomatoes before freezing.
- ● Permanent marker – To label bags with the date and tomato type.
- ● Slotted spoon or spider strainer – For easy transferring between water baths.
- ● Kitchen twine or rubber bands – To bundle cherry tomatoes for freezing.
- ● Vacuum sealer – Extends shelf life to 18+ months (vs. 9–12 months for zip-top bags).
- ● Fine-mesh colander – Dries tomatoes faster after blanching.
- ● ✅ Time: ~30–45 minutes (including prep and freezing).
- ● ✅ Space: Freezer with flat shelves (for even freezing).
- ● ✅ Safety: Use food-grade bags and avoid cross-contamination (e.g., wash hands and tools before handling tomatoes).
Step-by-step instructions for freezing whole tomatoes
Here's my foolproof method for locking in flavor and texture—no blender or canning required.
🌱 Step 1: Select and Prepare Tomatoes for Freezing
Pick tomatoes at peak ripeness—slightly soft with vibrant color. Wash them gently to remove dirt, then pat completely dry. I like to trim off the stem ends with kitchen shears for a cleaner look, but it's optional. For best results, leave the tomatoes whole and unpeeled—this preserves their natural texture and nutrients.
Don't skip the drying step. Any moisture left on the tomatoes will create ice crystals that damage cell walls and turn them mushy when thawed. A clean kitchen towel works, but I prefer paper towels because they absorb moisture more efficiently. Handle them gently to avoid bruising, which leads to uneven freezing.
💧 Step 2: Blanch Tomatoes for 30-60 Seconds
Bring a large pot of water to a rolling boil. While it heats, prepare an ice water bath in a separate bowl or sink. Once boiling, carefully add the tomatoes to the water and let them cook for 30-60 seconds—just enough to soften the skins slightly. You'll see tiny bubbles form around them, but don't let them boil longer or they'll start to break down.
Use a slotted spoon to transfer the tomatoes immediately to the ice water bath. This sudden temperature drop stops the cooking process and helps the skins shrink slightly, making them easier to peel later. Let them sit in the ice bath for 2-3 minutes until fully cooled. This step is critical—it prevents the tomatoes from turning to mush when frozen.
✂️ Step 3: Peel and Pack Tomatoes for Freezing
After chilling, the skins will slip off easily. Hold a tomato under cool running water and gently rub the skin with your fingers—it should peel away in one piece. If some spots resist, don't force it; just trim those areas with a knife. Once peeled, you can leave the tomatoes whole or cut them in half if they're too large for your freezer bags.
Pack the tomatoes into freezer-safe bags or containers, leaving about ½ inch of headspace at the top. Squeeze out as much air as possible before sealing to prevent freezer burn. I like to label each bag with the date and variety—this helps me track how long they've been stored and which types I have on hand.
⏰ Step 4: Freeze Tomatoes Properly for Long-Term Storage
Place the sealed bags flat on a tray or in a single layer in the freezer. This prevents them from sticking together and makes it easier to grab individual tomatoes later. Once frozen solid (after 24 hours), you can stack the bags or store them in a labeled freezer box. Properly frozen whole tomatoes will keep their shape and flavor for up to 12 months.
When you're ready to use them, thaw the tomatoes in the refrigerator overnight. They'll be perfect for cooking—just drop them into sauces, soups, or salsas without thawing completely. The skins will peel away easily after freezing, so you can remove them before adding the tomatoes to your recipes.
Tips & tricks for freezing whole tomatoes
Here's what I learned after freezing tomatoes the hard way—these tricks make all the difference.
Selection Tip: Choose tomatoes that are firm but slightly soft to the touch—they'll hold their shape better during freezing. Avoid overripe tomatoes with mushy spots, as they'll break down in the freezer. I also prefer varieties with thicker skins, like beefsteak or Roma, since they're less likely to tear during blanching. Look for vibrant color and a slight give when gently squeezed—this indicates peak ripeness for freezing.
Blanching Technique: The 30-60 second blanch in Step 2 is your secret weapon—it softens the skins just enough to make peeling effortless later. Here's my pro move: use a timer and watch for tiny bubbles forming around the tomatoes. If you see larger bubbles or the water starts to foam, you've gone too far. Immediately transfer them to the ice bath to stop the cooking process completely. This quick heat shock preserves texture and prevents mushiness.
Peeling Hack: After the ice bath, the skins should peel away like magic. If some spots resist, don't force it—just trim those areas with a knife. I've found that running the tomatoes under cool water while peeling makes the process even easier. Once peeled, you can leave them whole or halve large tomatoes for easier packing. The key is to work quickly while they're still cool to maintain their shape.
Freezer Strategy: The 24-hour flat freezing in Step 4 is crucial for preventing clumping. Place your bags in a single layer on a tray first—this creates a protective barrier between tomatoes. Once frozen solid, you can stack them, but never freeze liquid tomatoes directly in bags without this initial step. I also recommend using vacuum-sealed bags if you have them, as they prevent freezer burn better than regular ziplock bags. Label each bag with the date and variety for easy identification later.
Pro Tips for Freeze Tomatoes Whole
- Here's what I learned after freezing tomatoes the hard way—these tricks make all the difference.
- Selection Tip: Choose tomatoes that are firm but slightly soft to the touch—they'll hold their shape better during fr...
- Blanching Technique: The 30-60 second blanch in Step 2 is your secret weapon—it softens the skins just enough to make...
Frequently asked questions
about freezing whole tomatoes—because even the pros need a little extra help! Here are answers to the most common queries to ensure your tomatoes stay fresh and flavorful in the freezer.Can I freeze tomatoes without blanching?
Yes, but blanching helps preserve texture and color. Whole tomatoes can be frozen raw, but they’ll soften more over time. If you skip blanching, expect slightly mushy results when thawed. For best quality, especially if you plan to use them in sauces or cooking, blanching is worth the extra step!
How long can I freeze whole tomatoes?
Whole tomatoes stay best for 9–12 months in the freezer when stored properly. After that, quality declines—flavor may dull, and texture can become overly soft. Label your freezer bags with the date to keep track and enjoy them at peak freshness!
What’s the best way to thaw frozen tomatoes?
Thaw tomatoes in the fridge overnight for the best texture. If you’re in a hurry, place the sealed bag in a bowl of cold water for 30–60 minutes. Never thaw at room temperature—this can promote bacterial growth. For cooking, you can also add them frozen directly to soups, stews, or sauces!
Can I freeze tomatoes with stems and leaves still attached?
No, remove stems and leaves before freezing. They can harbor bacteria and won’t freeze well. Wash the tomatoes thoroughly first, then pat them dry. A quick trim ensures cleaner, safer storage and better flavor when you’re ready to use them.
Are frozen whole tomatoes good for making sauce?
Frozen whole tomatoes work great for sauces, but you’ll need to peel and seed them first. Thaw in the fridge, then blanch for 1–2 minutes to soften skins. Peel easily under cool water, remove seeds, and blend into a smooth sauce. The flavor holds up beautifully!
Why did my frozen tomatoes turn gray or mushy?
Gray or mushy tomatoes usually mean oxidation or improper storage. To prevent this, remove as much air as possible from freezer bags, use vacuum-sealed bags if available, and store tomatoes in a single layer before transferring to long-term storage. Also, avoid refreezing thawed tomatoes!
Wrapping up and next steps
Freezing whole tomatoes is a game-changer for preserving their freshness and flavor—no more wasted produce! 🍅❄️ With just a few simple steps, you can enjoy homegrown tomatoes year-round in soups, sauces, or straight from the freezer.
Whether you’re a busy parent or a meal-prep enthusiast, this method saves time and money while keeping nutrients intact.
Now that you’re ready to freeze, why not try a recipe? Grab those frozen tomatoes and whip up a batch of homemade marinara or a hearty winter stew. Your future self will thank you!