
Vegetables
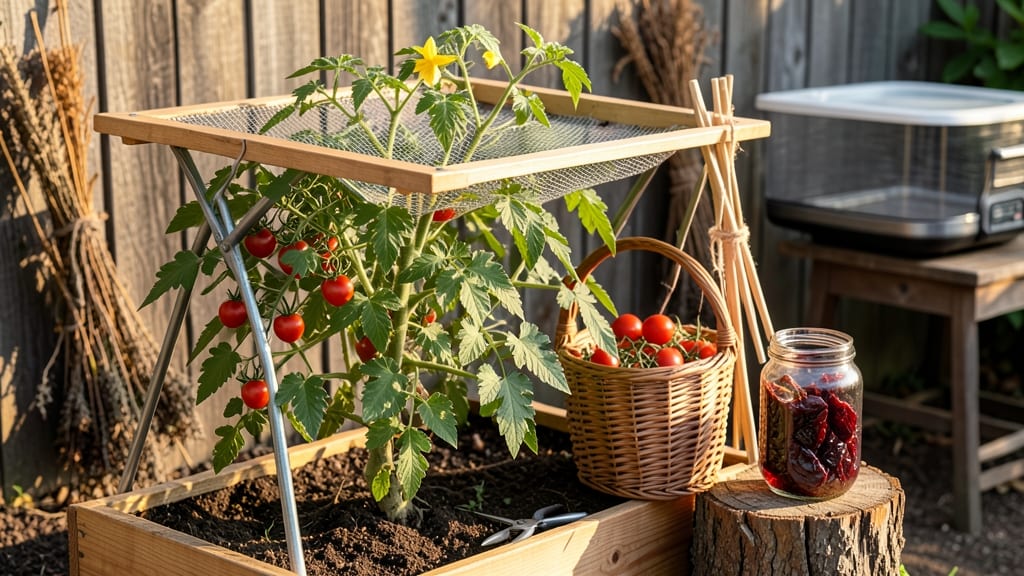
Drying cherry tomatoes transforms summer's bounty into sun-dried treasures that taste like vacation. 🌞 The process is simpler than you'd think—no fancy equipment needed, just fresh tomatoes, a little prep work, and patience.
I've dried hundreds of pounds over the years, and the key is in the details: proper slicing, even drying, and knowing when they're just right.
You'll need ripe, firm tomatoes (the sweeter, the better), a sharp knife, a drying rack or dehydrator, and a clean workspace. The best part? You can dry them in your oven, on a windowsill, or with a dehydrator—whichever fits your kitchen setup.
Most methods take 12-24 hours, but the flavor deepens over time, making them perfect for winter pasta sauces or antipasto platters.
When done correctly, dried tomatoes develop a rich, concentrated sweetness with a tender yet chewy texture. They keep for up to a year in the fridge or 2-3 years in the freezer, so you'll have homegrown flavor long after harvest season ends.
The secret to avoiding mold or uneven drying? Thin, even slices and proper airflow.
This method works for any cherry tomato variety—sweet, meaty, or even heirloom—but the process is especially rewarding with sugar-plum or sun gold types. Whether you're prepping for winter or just love the taste of summer all year, dried tomatoes are a game-changer for any home gardener.
📚 In This Guide
- What you need
- Instructions
- Tips and common mistakes
- Wrapping up and next steps
What you need
- ● Fresh cherry tomatoes: 2–3 lbs (about 12–15 medium tomatoes). Choose firm, ripe, and slightly underripe ones for best flavor and texture.
- ○ Sharp knife or kitchen shears: For slicing tomatoes evenly (a mandoline slicer is optional but handy for consistency!).
- ● Cutting board: A sturdy, food-safe surface to prep your tomatoes.
- ○ Bowl of ice water (optional but recommended): To blanch tomatoes for 30–60 seconds before drying (helps preserve color and texture).
- ● Drying method-specific tools: Air-drying: A clean, well-ventilated area (like a sunny windowsill or drying rack) with a food-grade drying screen or mesh rack.
- ● Oven-drying: A baking sheet lined with parchment paper or silicone baking mats.
- ● Dehydrator: A food dehydrator with adjustable temperature settings (look for models with mesh trays for airflow).
- ● Tongs or a slotted spoon: For safely handling hot or delicate dried tomatoes.
- ● Glass jars or airtight containers: For storage (sterilize jars with boiling water to prevent spoilage).
- ○ Olive oil, herbs (basil, oregano), or garlic (optional): For flavor infusion after drying.
- ● Clean workspace: Sanitize all tools and surfaces to avoid contamination.
- ● Weather check (for air-drying): Aim for warm (70–90°F/21–32°C), dry, and breezy conditions to prevent mold.
- ● Time commitment: Drying takes 6–24 hours depending on the method. Plan ahead!
- ● Safety note: If oven-drying, prop the oven door open 1–2 inches for ventilation (or use the lowest "keep warm" setting).
Step-by-step instructions for drying cherry tomatoes
Here’s my foolproof method for transforming summer’s sweetest tomatoes into preserved gems—no fancy equipment needed.
🌱 Step 1: Select and Prep the Tomatoes
Pick fully ripe, firm cherry tomatoes with vibrant color and no soft spots. I avoid bruised ones—they’ll turn mushy during drying. Rinse them gently under cool water to remove dirt, then pat dry with a clean towel. This step is critical: moisture left on the skin slows drying and invites mold. For best results, cut tomatoes in half lengthwise, removing the cores if they’re large. Leave the skins intact—they protect flavor and color during drying.
Arrange the halves on a baking sheet lined with parchment paper, cut-side up. Space them ¼ inch apart so air circulates freely. This prevents steam buildup, which can make tomatoes soggy instead of crisp. I like to work in batches of 4-5 dozen at a time—any more and my oven gets too crowded.
☀️ Step 2: Dry Using Low Heat or Dehydrator
Preheat your oven to 175°F—this is the sweet spot for gentle drying. Place the baking sheet on the middle rack and let the tomatoes dry for 4-6 hours, checking every hour. You’ll know they’re ready when the skins wrinkle slightly and the flesh feels leathery but still holds its shape. If they darken too much, reduce the heat to 150°F for the final hour.
For a dehydrator, set it to 135°F and dry for 6-8 hours, rotating the trays halfway through. The lower temperature preserves more color and flavor. Watch for the moment the tomatoes shrivel but don’t collapse—this is the perfect texture. If you’re short on time, a food dehydrator speeds up the process without risking over-browning.
⏰ Step 3: Cool and Store Properly
Let the dried tomatoes cool completely on a wire rack before handling. This prevents condensation from forming inside storage containers, which can lead to spoilage. Once cool, transfer them to airtight glass jars or vacuum-sealed bags. I store mine in small batches of 12-15 tomatoes per jar—just enough for a single meal.
Keep the jars in a cool, dark place like a pantry or root cellar. Properly dried tomatoes stay fresh for up to a year, though I usually use them within 6 months for peak flavor. Label each jar with the date—this helps track freshness and ensures you use the oldest batches first.
💧 Step 4: Rehydrate and Use (Optional)
For soups or sauces, simply drop dried tomatoes directly into simmering liquid—they’ll rehydrate in 10-15 minutes. If you prefer softer texture, soak them in warm water for 20-30 minutes before using. I often blend them into pasta sauces or chop them finely for bruschetta. The concentrated flavor is incredible—one dried tomato packs the punch of three fresh ones.
For a quick flavor boost, crush dried tomatoes into a fine powder using a mortar and pestle or spice grinder. Store the powder in a small jar and sprinkle it over salads, grains, or roasted vegetables. It’s a game-changer for adding depth to dishes without extra moisture.
Tips & tricks for perfectly preserved cherry tomatoes
These little adjustments make all the difference between good dried tomatoes and restaurant-quality preserved gems.
Selection is Everything: Look for cherry tomatoes that are uniformly ripe—just slightly soft to the touch but not mushy. The vibrant redder ones often have more sugar content, which translates to deeper flavor after drying. I've learned the hard way that even one bruised tomato can ruin an entire batch by spreading moisture during drying.
Temperature Matters: That 175°F oven setting isn't just arbitrary—it's the sweet spot where tomatoes dry evenly without losing their structure. If your oven runs hot, reduce to 150°F for the final hour to prevent over-browning. For dehydrators, stick to 135°F—lower temps preserve more color and prevent the skins from turning leathery too quickly. The key is patience at these gentle temperatures.
Storage Wisdom: After drying, let tomatoes cool completely on a wire rack before storing. This prevents condensation from forming inside jars, which can lead to mold. I store them in small batches of 12-15 tomatoes per jar—this makes it easy to use just what I need without opening the whole container. The cool, dark pantry is ideal, but a root cellar extends shelf life even further.
Make-Ahead Move: You can actually prep and dry tomatoes up to 3 days in advance and store them at room temperature. This works perfectly for meal prep—just dry a big batch when tomatoes are at peak season, then use them gradually throughout the year. The flavor actually intensifies over time as the moisture evaporates completely.
Pro Tips for Drying Cherry Tomatoes
- These little adjustments make all the difference between good dried tomatoes and restaurant-quality preserved gems.
- Selection is Everything: Look for cherry tomatoes that are uniformly ripe—just slightly soft to the touch but not mus...
- Temperature Matters: That 175°F oven setting isn't just arbitrary—it's the sweet spot where tomatoes dry evenly witho...
Frequently asked questions
about drying cherry tomatoes—here’s what you need to know to avoid common pitfalls and master the process!How long does it take to dry cherry tomatoes?
Drying time varies by method: air-drying (2–4 weeks) at 135–145°F (60–63°C), dehydrator (6–12 hours), or oven (4–8 hours). Check for readiness when tomatoes are leathery, shrunk to ¼ their size, and no moisture remains. Humidity and thickness affect timing—thicker tomatoes take longer!
Can I speed up the drying process?
Yes! For faster results, slice tomatoes thinner (¼-inch max) or use a food dehydrator (most efficient). Pre-drying in a low oven (170°F/77°C) for 30–60 minutes also helps remove surface moisture. Just avoid high heat—it can cook instead of dry them properly.
What’s the best temperature for drying cherry tomatoes?
The ideal range is 135–145°F (60–63°C). Below 130°F (54°C), mold risks rise; above 150°F (66°C), tomatoes may darken or lose flavor. Dehydrators and ovens with precise controls work best. For oven drying, prop the door open 1–2 inches for airflow.
Why did my dried tomatoes get moldy?
Mold usually appears from high humidity, improper prep, or uneven drying. Always blanch tomatoes (30–60 sec in boiling water) to kill bacteria, pat them thoroughly dry, and ensure proper airflow. Store dried tomatoes in airtight containers with a desiccant packet to prevent moisture buildup.
How should I store dried cherry tomatoes?
Store them in glass jars or Mylar bags with oxygen absorbers for long-term freshness (up to 1 year). Keep in a cool, dark place (like a pantry) to preserve color and flavor. For short-term use (up to 3 months), a sealed container in the fridge works too!
Can I dry cherry tomatoes without a dehydrator?
Use an oven, solar dryer, or even a well-ventilated rack. For oven drying, line a baking sheet with parchment, arrange tomatoes in a single layer, and prop the door open. A DIY solar dryer (clear plastic box with a black tray) works in sunny climates—just monitor for pests!
Wrapping up and next steps
Drying cherry tomatoes is a simple yet rewarding way to savor their sweet, tangy flavor long after harvest season ends!
Whether you’re a beginner or a seasoned foodie, this method unlocks a world of culinary possibilities—from salads to pastas and beyond. Start small, experiment with techniques, and soon you’ll be stocking your pantry with homemade goodness.
Ready to take the next step? Try making a batch today—your future self (and taste buds) will thank you! 🌿✨